 Pin it
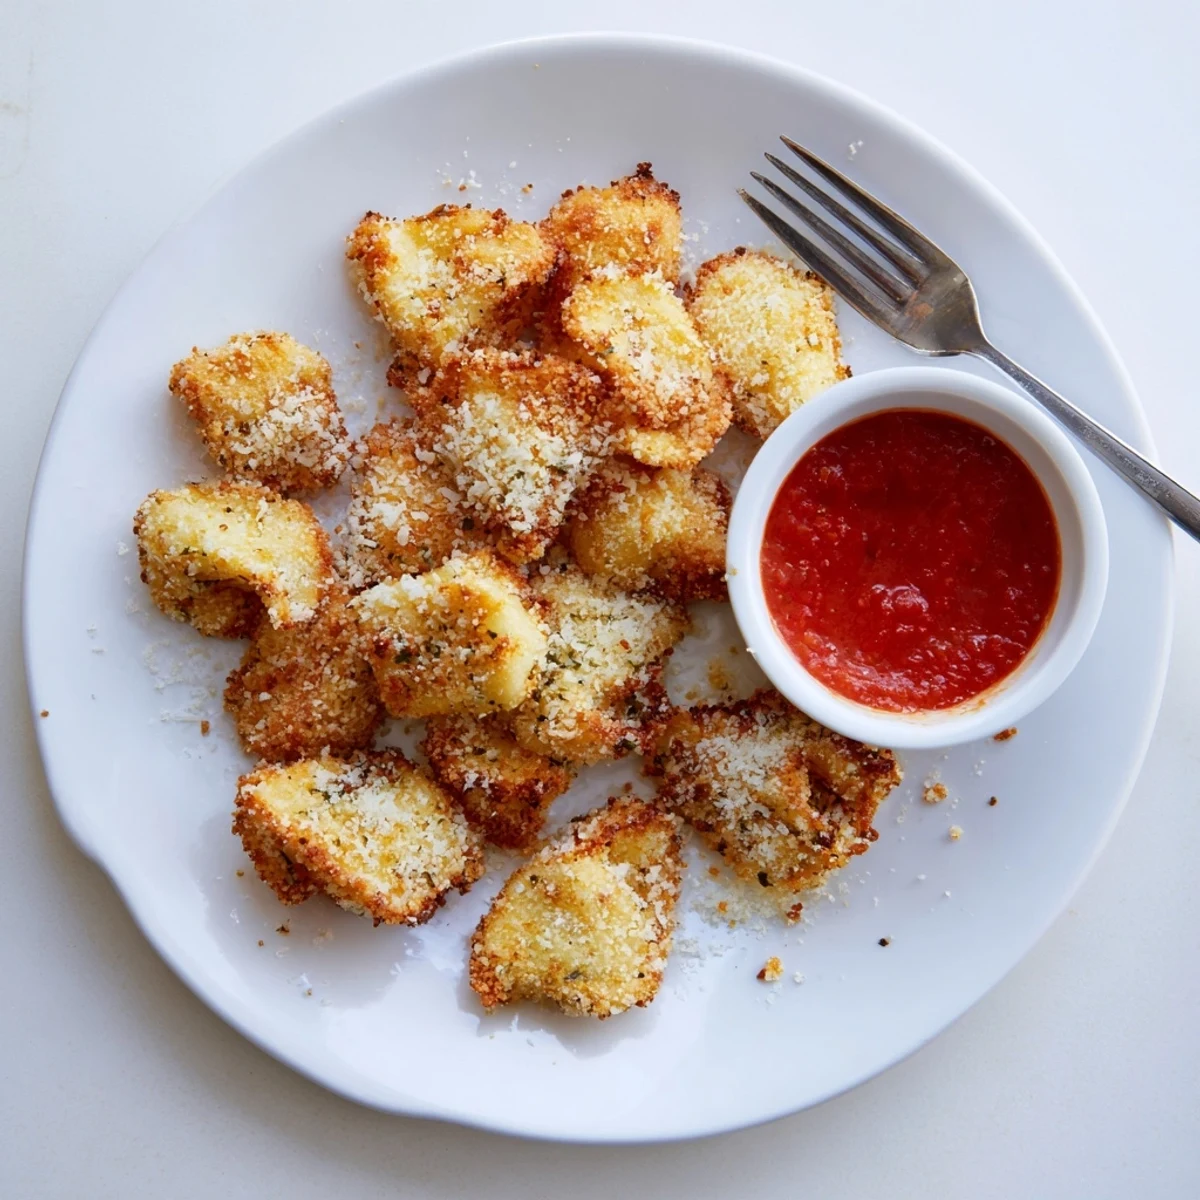
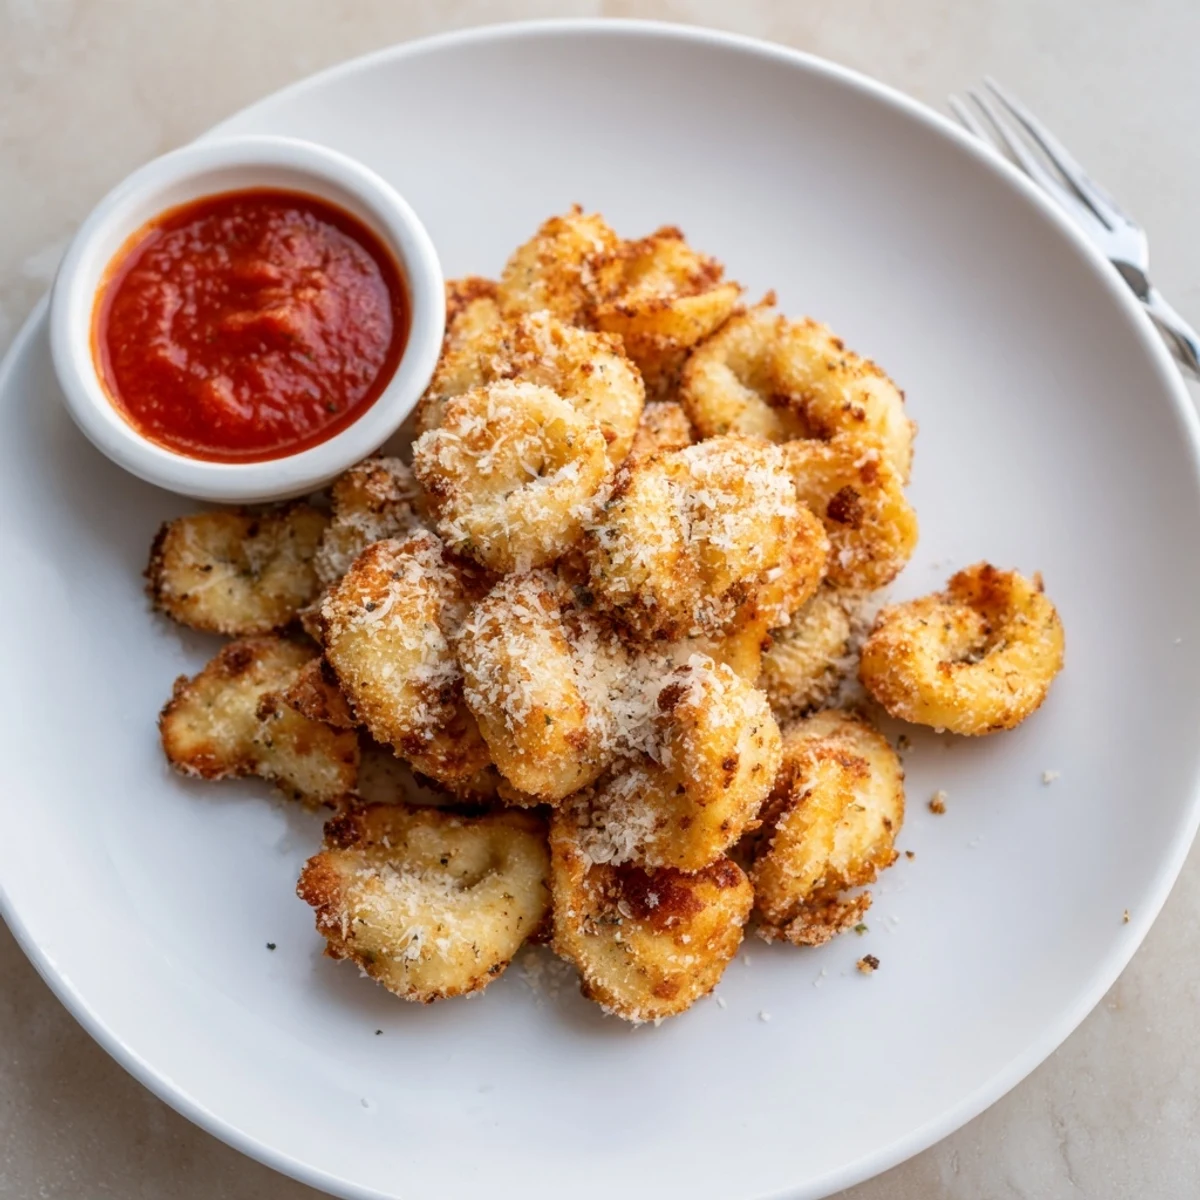
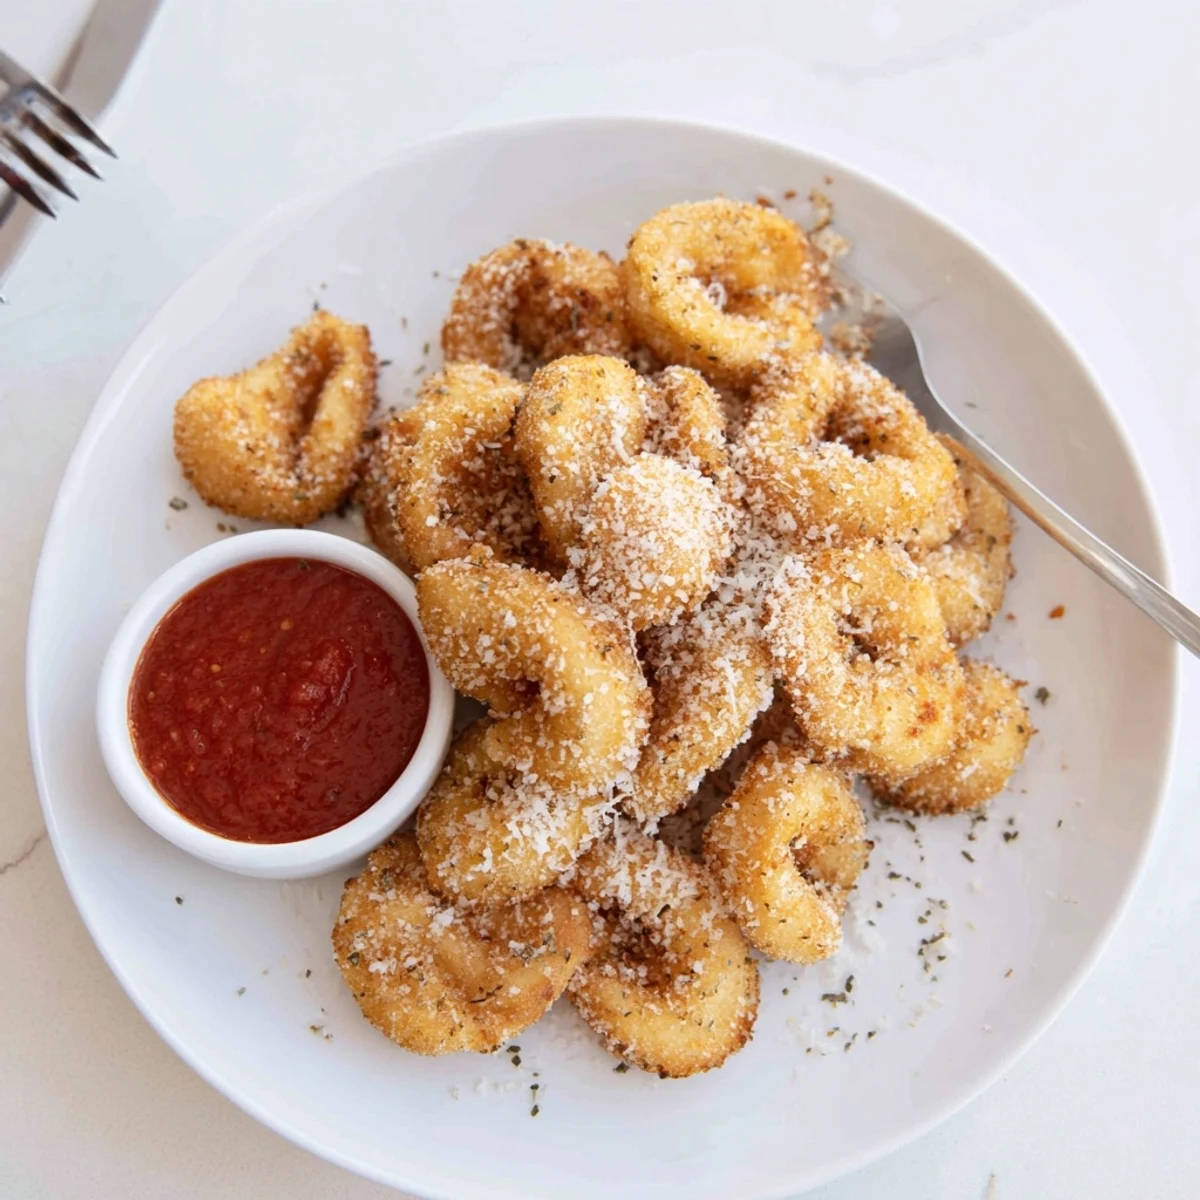
 Cheese-filled tortellini are boiled until just al dente, patted dry, then dipped in an egg-and-milk wash and rolled in a Parmesan-flecked breadcrumb mix spiced with garlic and Italian herbs. Fry in hot oil for 2–3 minutes until deeply golden or bake at 425°F after a generous olive oil spray until crisp. Serve hot with warm marinara; try spinach-ricotta or mushroom fillings and add red pepper flakes to the coating for heat. Leftovers reheat well in a 375°F oven to restore crunch.
The sound of oil popping in a skillet on a Tuesday evening changed my entire approach to party food forever. I had leftover tortellini, half a sleeve of breadcrumbs, and six friends arriving in forty minutes. What started as desperation turned into the most requested appetizer in my social circle, and now nobody lets me host anything without these little golden bites appearing on the table.
My friend Dave stood in the kitchen last New Years Eve eating them straight off the paper towel before they even made it to the living room. I had to physically block him from the counter to save enough for other guests. That reaction told me everything I needed to know about this recipe.
Ingredients
- Cheese tortellini: One nine ounce package of refrigerated tortellini works perfectly, and undercooking them slightly keeps the filling from bursting out during frying.
- Eggs and milk: Two large eggs whisked with two tablespoons of milk create the binder that holds everything together.
- Italian breadcrumbs: One cup gives you that classic crunch, and the seasoned variety adds built in flavor.
- Parmesan cheese: Half a cup of grated Parm mixed into the breadcrumbs creates a savory crust that browns beautifully.
- Garlic powder: One teaspoon quietly elevates the entire coating without overpowering the cheese filling.
- Dried Italian herbs: One teaspoon brings oregano, basil, and thyme to the party in one convenient spoonful.
- Salt and pepper: Half a teaspoon of salt and a quarter teaspoon of black pepper balance the seasoning.
- Olive oil spray or vegetable oil: Choose spray for baking or about one cup of vegetable oil for frying, depending on your preferred method.
- Marinara sauce: One cup warmed up transforms these from a snack into an experience.
Instructions
- Boil the tortellini with care:
- Bring a large pot of salted water to a rolling boil and cook the tortellini for two minutes less than the package says. Drain immediately and rinse under cold water so they stop cooking, then pat them completely dry with paper towels because wet tortellini will fight you on the coating step.
- Set up your dipping station:
- Whisk the eggs and milk together in a shallow bowl, then combine the breadcrumbs, Parmesan, garlic powder, herbs, salt, and pepper in a second shallow bowl right next to it. Having everything lined up makes this feel like a calm assembly line instead of a messy kitchen crisis.
- Coat each piece thoroughly:
- Dip every tortellini into the egg wash first, letting the excess drip off, then roll it in the breadcrumb mixture and press gently so the coating really grips the surface. Place each coated piece on a clean plate or sheet pan as you go.
- Fry until gloriously golden:
- Heat one inch of vegetable oil in a deep skillet to 350 degrees Fahrenheit and fry the tortellini in small batches for two to three minutes, turning them until every side is deeply golden and crunchy. Remove them with a slotted spoon and let them drain on paper towels.
- Or bake them instead:
- Preheat your oven to 425 degrees Fahrenheit, arrange the breaded tortellini in a single layer on a parchment lined baking sheet, and spray them generously with olive oil. Bake twelve to fifteen minutes, flipping them halfway through, until they are crispy and golden all over.
- Serve with warm marinara:
- Arrange them on a platter while still hot and set out a bowl of warmed marinara sauce for dipping, then watch how quickly the plate empties.
 Pin it
 The night I realized these had become a tradition was when my sister called in October to confirm they would be at Thanksgiving. Not me, specifically, the tortellini bites. I have never felt so simultaneously offended and flattered by a single question.
Frying Versus Baking: Choose Your Path
Frying gives you that shatteringly crisp exterior that is hard to replicate any other way, but baking is less messy and lets you make larger batches at once. I usually fry when it is just a few people and bake when the guest list climbs past ten. Both methods produce something wonderful, so do not let anyone tell you there is only one right answer here.
Filling Variations That Work Beautifully
Spinach and ricotta tortellini add a subtle earthiness that pairs surprisingly well with the crunchy Parmesan crust. Mushroom filled ones turn deeply savory and feel almost elegant. I once found a four cheese variety at a local shop that made me gasp out loud when I bit into one fresh from the oven.
Making Them Ahead Without Losing the Crunch
You can bread the tortellini hours before cooking and keep them on a sheet pan in the fridge, uncovered so the coating stays dry. Cooked leftovers reheat beautifully in a 375 degree Fahrenheit oven for about five minutes. The microwave will make them soggy, so please trust me on this one and use the oven instead.
- Let the breaded tortellini sit in the fridge uncovered for at least thirty minutes before cooking to help the coating set.
- Add a pinch of red pepper flakes to the breadcrumb mix if you want a subtle warmth that sneaks up on people.
- Always serve these warm because the magic fades significantly at room temperature.
 Pin it
 Every time I make these, someone asks for the recipe, and I write it down on whatever scrap of paper is nearby. I suspect there are now at least a dozen crumpled versions floating around my friends kitchens, and honestly that is the highest compliment a home cook can receive.
Recipe Questions & Answers
- → Can I use frozen tortellini?
-
Yes. Thaw slightly if needed, then cook to just shy of package time so the filling stays firm. Pat dry before coating to help the crumbs adhere.
- → How do I get an extra-crispy crust?
-
Use panko or a mix of panko and Italian breadcrumbs, press the coating firmly onto each piece, chill briefly before cooking, and fry in hot oil or bake with a generous olive oil spray.
- → Baking or frying — which is better?
-
Frying yields the quickest, crispiest finish; baking is lighter and easier for large batches. For baking, arrange in a single layer and spray well with oil, turning halfway through cooking.
- → What fillings work best?
-
Cheese-based fillings like cheese, spinach-ricotta, and mushroom hold up well. Heavier or very wet fillings may require extra care to avoid leaking during cooking.
- → How should I store and reheat leftovers?
-
Refrigerate cooled pieces in an airtight container for up to 3 days. Reheat in a 375°F oven for about 5–8 minutes to revive the crunch; avoid microwaving if you want crispness.
- → Any quick swaps for dietary needs?
-
Use gluten-free tortellini and gluten-free breadcrumbs for a wheat-free option. For an egg-free wash, try a thin batter of milk and a spoonful of flour or a commercial egg replacer.