 Pin it
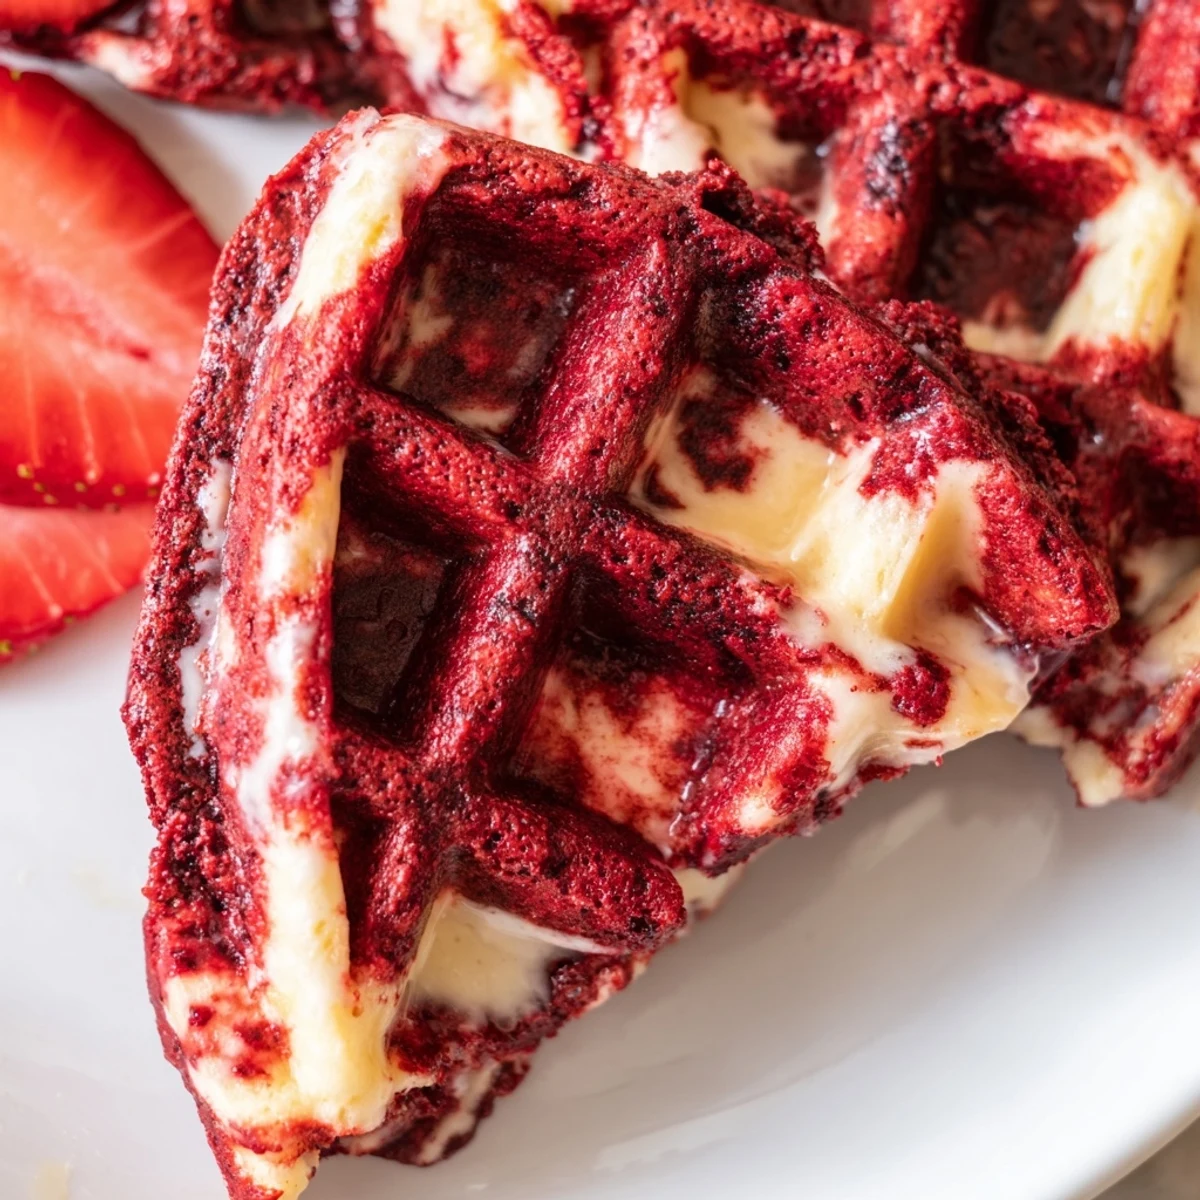
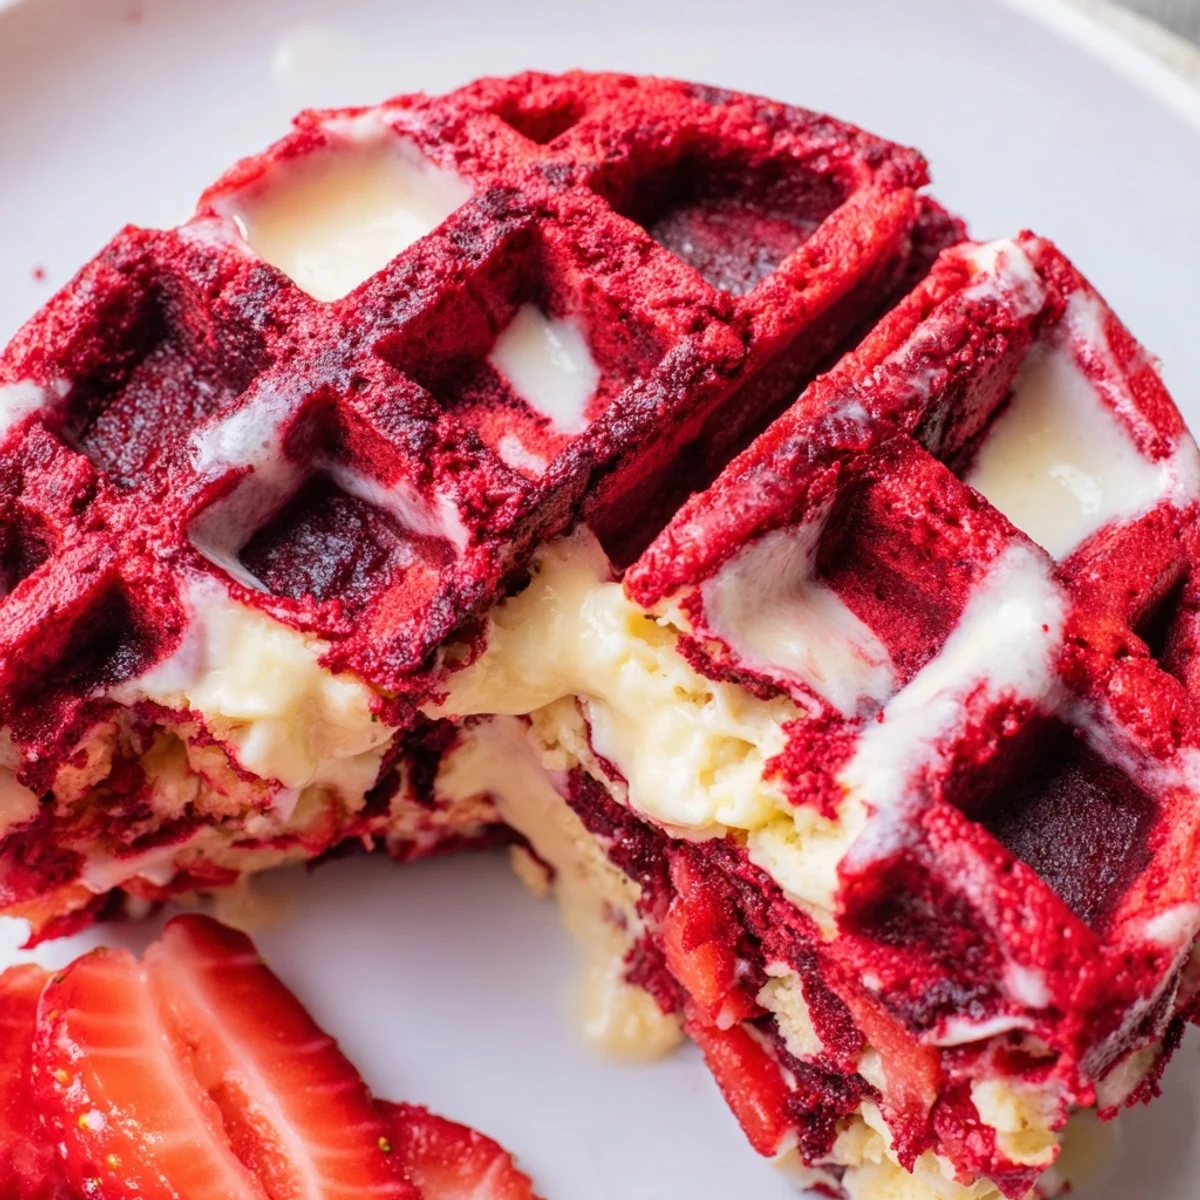
 Elevate your morning routine with these eye-catching red velvet marble waffles. The technique involves creating two separate batters—one vanilla, one infused with cocoa and vibrant red coloring—then swirling them together on the hot iron. The buttermilk base ensures tender, fluffy interiors while developing perfectly crisp exteriors. Each waffle showcases a unique marble pattern, making them ideal for special occasions or when you want to impress at brunch. The process takes just 30 minutes from start to finish, and the results are worth every minute. Top with cream cheese glaze or fresh berries for an indulgent finish.
My kitchen looked like a crime scene the first time I attempted red velvet anything. Red food coloring has a way of making everything look dramatic. But those waffles, with their beautiful swirls and that cocoa depth, made the messy counters worth it. Now it's my go-to when I need breakfast to feel like an occasion.
Last Valentine's Day, I made a double batch and woke up my partner with the smell of vanilla and chocolate mingling in the air. We ended up eating standing up at the counter, watching steam curl off each marbled square. Sometimes the most simple mornings become the ones you talk about for years.
Ingredients
- All-purpose flour: The foundation that gives these waffles their structure and crisp exterior
- Buttermilk: Room temperature is key here for the right chemical reaction with baking soda
- Cocoa powder: Just enough to give that red velvet depth without overpowering the vanilla
- Red food coloring: Liquid or gel both work, but gel gives a deeper hue with less liquid
- Unsalted butter: Melted and cooled so it doesn't scramble your eggs when you mix everything
Instructions
- Whisk the dry base:
- Combine flour, sugar, baking powder, baking soda, and salt in a large bowl until everything is evenly distributed
- Mix the wet ingredients:
- Whisk buttermilk, eggs, melted butter, and vanilla in another bowl until completely smooth
- Combine carefully:
- Fold the wet mixture into the dry ingredients gently, stopping the moment you no longer see dry flour
- Divide and color:
- Split batter between two bowls, then whisk cocoa powder and red food coloring into one half
- Heat your iron:
- Preheat the waffle iron and give it a quick spray of oil or butter for easy release
- Create the marble:
- Alternate spoonfuls of red and vanilla batters onto the hot iron, then swirl once gently with a chopstick
- Cook to crisp:
- Close the lid and let each waffle cook until golden and set, usually 3 to 5 minutes depending on your iron
- Serve immediately:
- These are best eaten hot, maybe with some cream cheese glaze or just good maple syrup
 Pin it
 My teenage niece caught me swirling the batter and asked if I was making art. I told her the best recipes always have a little bit of showmanship. Now she asks for these every time she sleeps over, and she's gotten surprisingly good at the swirl technique.
Getting That Marble Right
The secret is working quickly once your batters hit the iron. If you wait too long to swirl, the heat starts setting the edges and you lose that ribbon effect. I keep two spoons handy, one for each batter, so I can alternate dollops without mixing them prematurely.
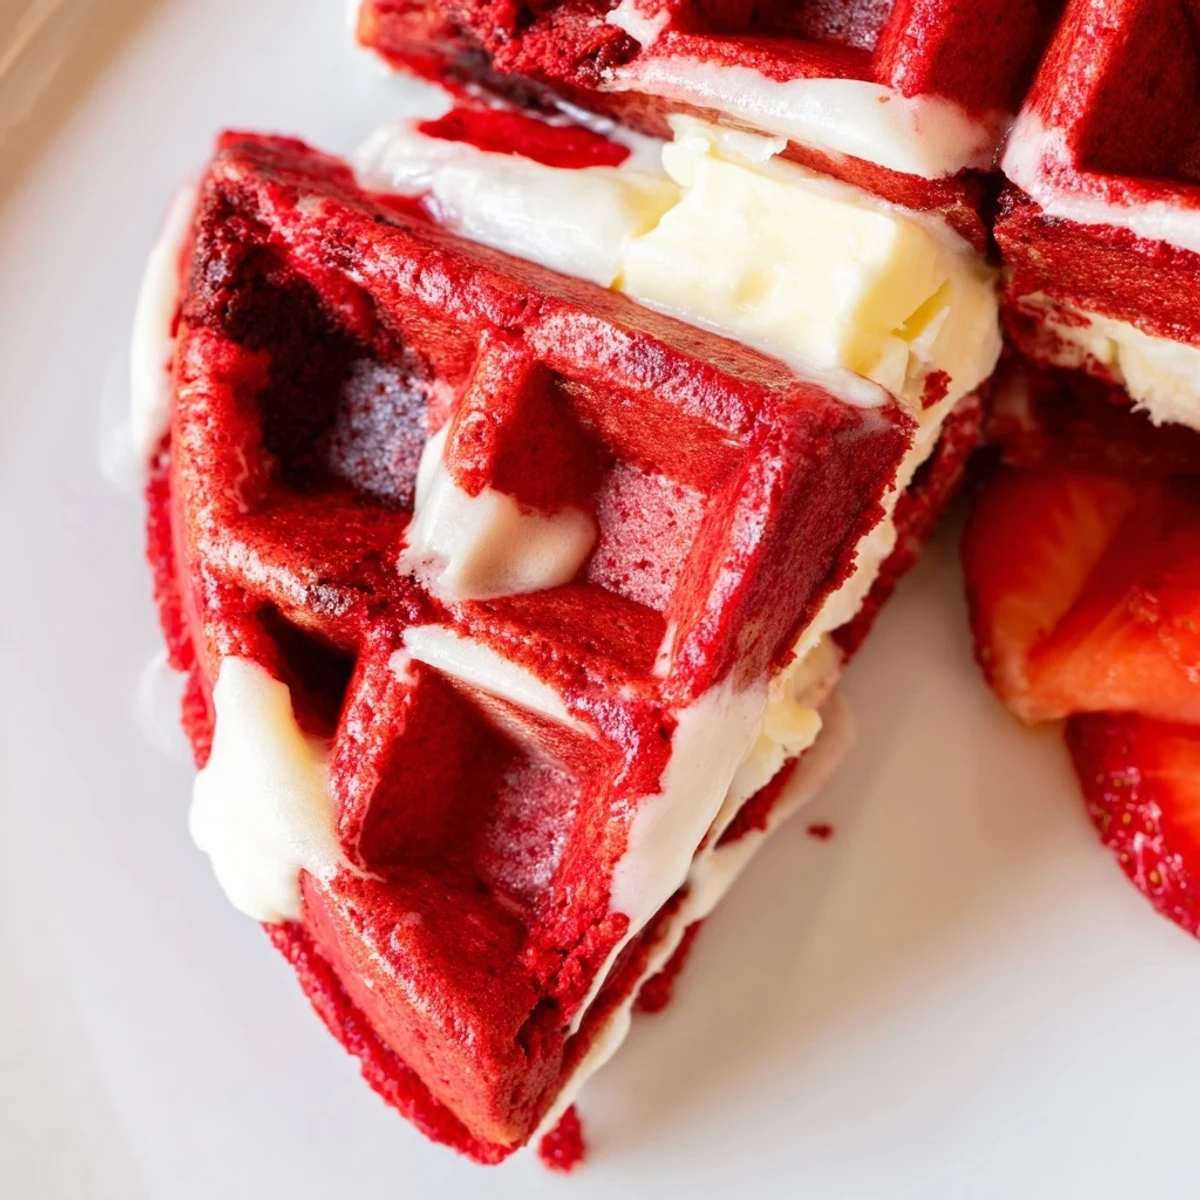
Cream Cheese Glaze Magic
While the waffles cook, whisk together softened cream cheese, a splash of milk, and powdered sugar until it drizzles off a spoon. The tang against the sweet red velvet is what transforms this from good to unforgettable. Plus it hides any imperfections in your marble pattern.
Make Ahead Strategy
You can mix both batters the night before and store them in separate containers in the fridge. The baking powder will lose some oomph, but the texture still works beautifully for next morning waffles. Just give each batter a quick whisk before cooking.
- Let refrigerated batter sit on the counter for 15 minutes before using
- Add an extra minute of cooking time for cold batter
- Freeze cooked waffles and reheat in the toaster for weekday breakfasts
 Pin it
 Some mornings call for ordinary waffles, and some mornings call for something that makes you pause and appreciate the simple art of breakfast. These red velvet marble waffles are never just breakfast, they're a little celebration on a plate.
Recipe Questions & Answers
- → How do I achieve the perfect marble effect?
-
Drop alternating spoonfuls of red velvet and vanilla batters onto your preheated waffle iron. Use a chopstick or butter knife to gently swirl through the batters once—don't over-swirl or you'll lose the distinct marble pattern. The heat will set the design quickly.
- → Can I make the batter ahead of time?
-
For best results, prepare the batter immediately before cooking. The leavening agents start working as soon as wet ingredients meet dry, so letting it sit too long can affect texture. However, you can mix your dry ingredients the night before to save time.
- → What if I don't have buttermilk?
-
Greek yogurt thinned with a splash of milk works beautifully as a substitute. Alternatively, make your own buttermilk by adding 1 tablespoon of vinegar or lemon juice to 1 ¾ cups of regular milk and letting it sit for 5 minutes before using.
- → How should I store leftover waffles?
-
Cool completely on a wire rack, then freeze in a single layer before transferring to a freezer-safe bag. They'll keep for up to 3 months. Reheat in a toaster or oven at 350°F for 5 minutes to restore crispiness.
- → Can I use natural food coloring instead?
-
Beet juice or pomegranate juice can provide red coloring, though the hue may be more muted than gel or liquid food coloring. You may need slightly more natural coloring to achieve the same vibrancy.
- → What toppings work best with these waffles?
-
Cream cheese glaze complements the tangy buttermilk base perfectly. Maple syrup, fresh berries, whipped cream, or a dusting of powdered sugar all enhance the presentation without overpowering the delicate marble pattern.