 Pin it
 This classic vanilla bean cake features tender, moist layers with authentic vanilla specks throughout. The creamy buttercream frosting creates the perfect balance of sweetness, while the soft crumb texture melts in your mouth. Ready in just over an hour, this celebration staple serves twelve generous portions and can be customized with sprinkles or edible flowers.
The kitchen was already chaos before I even turned on the oven. My sister had requested this cake for her thirtieth birthday, and somewhere between hunting down vanilla bean paste and realizing I was short one egg, I learned that the best celebrations happen in the messy middle of things anyway.
That birthday party taught me something about cake, people always remember how it made them feel more than how it looked. My sister still talks about the year her cake was slightly lopsided but tasted like heaven, and honestly, that is the energy I bring to this recipe every single time.
Ingredients
- 2 ½ cups all-purpose flour: Spoon and level instead of scooping directly, packed flour makes dense cakes
- 2 ½ tsp baking powder: Fresh baking powder is non negotiable, check the expiration date
- ½ tsp fine salt: Enhances the vanilla without making the cake taste salty
- 1 cup unsalted butter, softened: Leave it out for exactly one hour, microwave softening creates uneven textures
- 2 cups granulated sugar: Creates that tender crumb by creaming air into the butter
- 4 large eggs, room temperature: Cold eggs can seize the butter mixture and ruin all your hard work
- 1 tbsp vanilla bean paste: Those tiny black specks are pure visual magic, extract works but lacks the wow factor
- 1 cup whole milk, room temperature: Full fat makes a difference, I have learned this the disappointing way
- 1 ½ cups unsalted butter, softened: For the buttercream, same one hour rule applies
- 5 cups powdered sugar, sifted: Sifting prevents those dreaded lumpy frosting moments
- 2 tbsp whole milk: Adjust this to reach your perfect spreading consistency
- 2 tsp vanilla extract: Complements the vanilla bean paste without competing with it
- Pinch of salt: Cuts the sweetness just enough to keep you coming back for another slice
Instructions
- Preheat and prep your pans:
- Set your oven to 350°F and grease two 9 inch round pans with butter, then line the bottoms with parchment paper circles.
- Whisk the dry ingredients:
- Combine the flour, baking powder, and salt in a medium bowl, whisking until they are evenly distributed.
- Cream the butter and sugar:
- Beat the butter and sugar together for 3 to 4 minutes until pale and fluffy, scraping down the bowl halfway through.
- Add the eggs:
- Drop in the eggs one at a time, beating well after each addition, then mix in the vanilla bean paste until those specks are swirled throughout.
- Combine wet and dry:
- Add the flour mixture in three parts, alternating with the milk, starting and ending with the flour, mixing only until just combined.
- Bake the layers:
- Divide the batter evenly between the pans, smooth the tops, and bake for 30 to 35 minutes until a toothpick comes out clean.
- Cool completely:
- Let the cakes rest in their pans for 10 minutes before turning them out onto wire racks to cool entirely.
- Make the buttercream:
- Beat the butter until creamy, gradually blend in the sifted powdered sugar, then add the milk, vanilla, and salt, whipping on high for 3 minutes until fluffy.
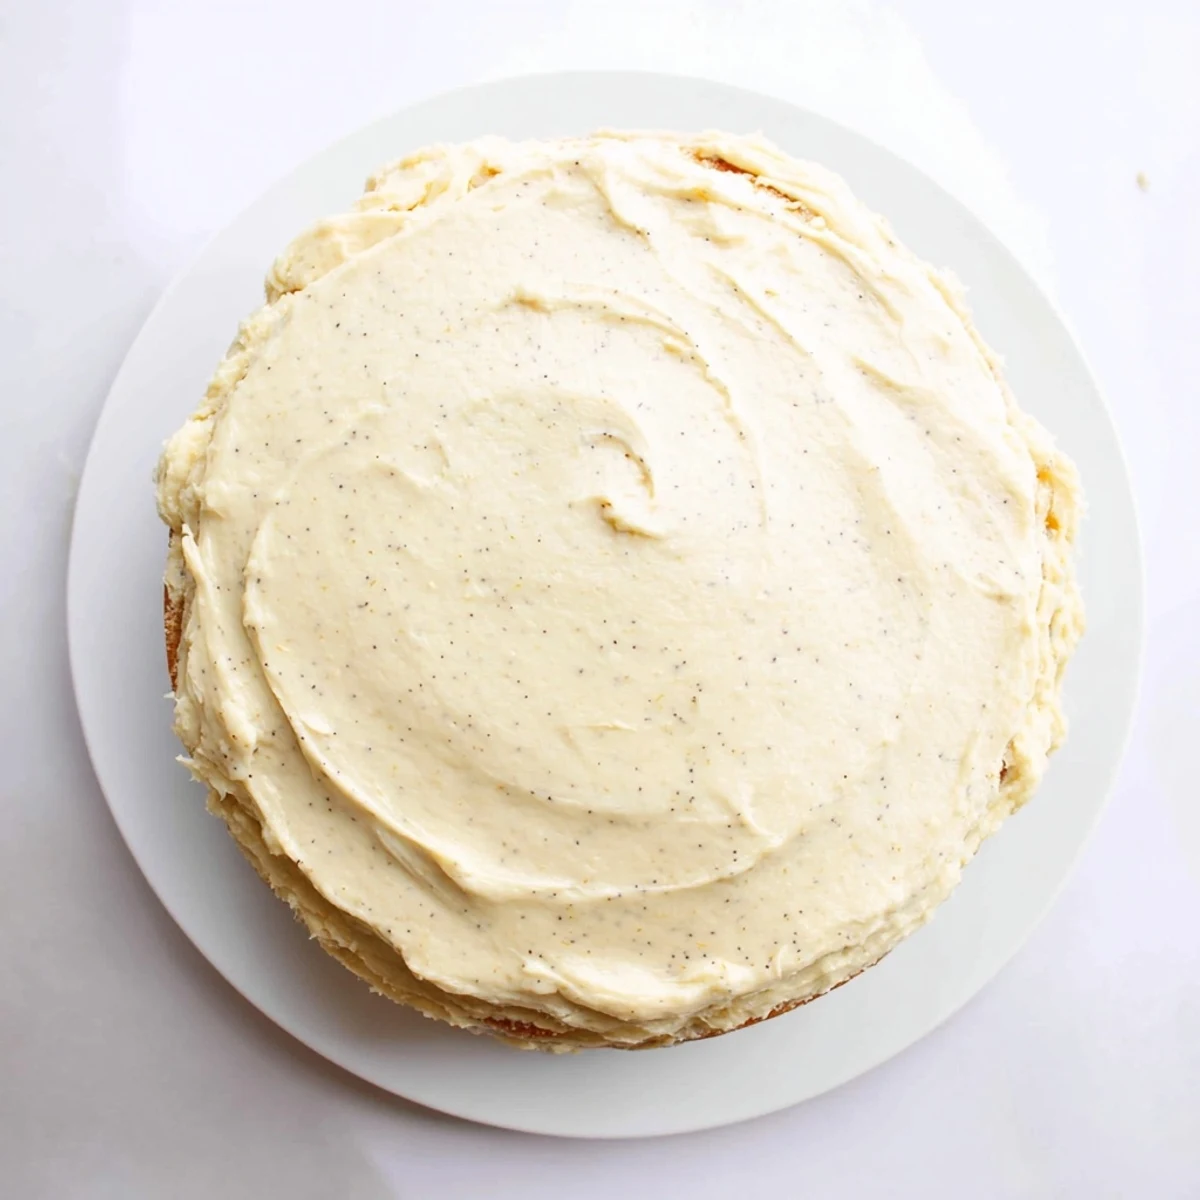
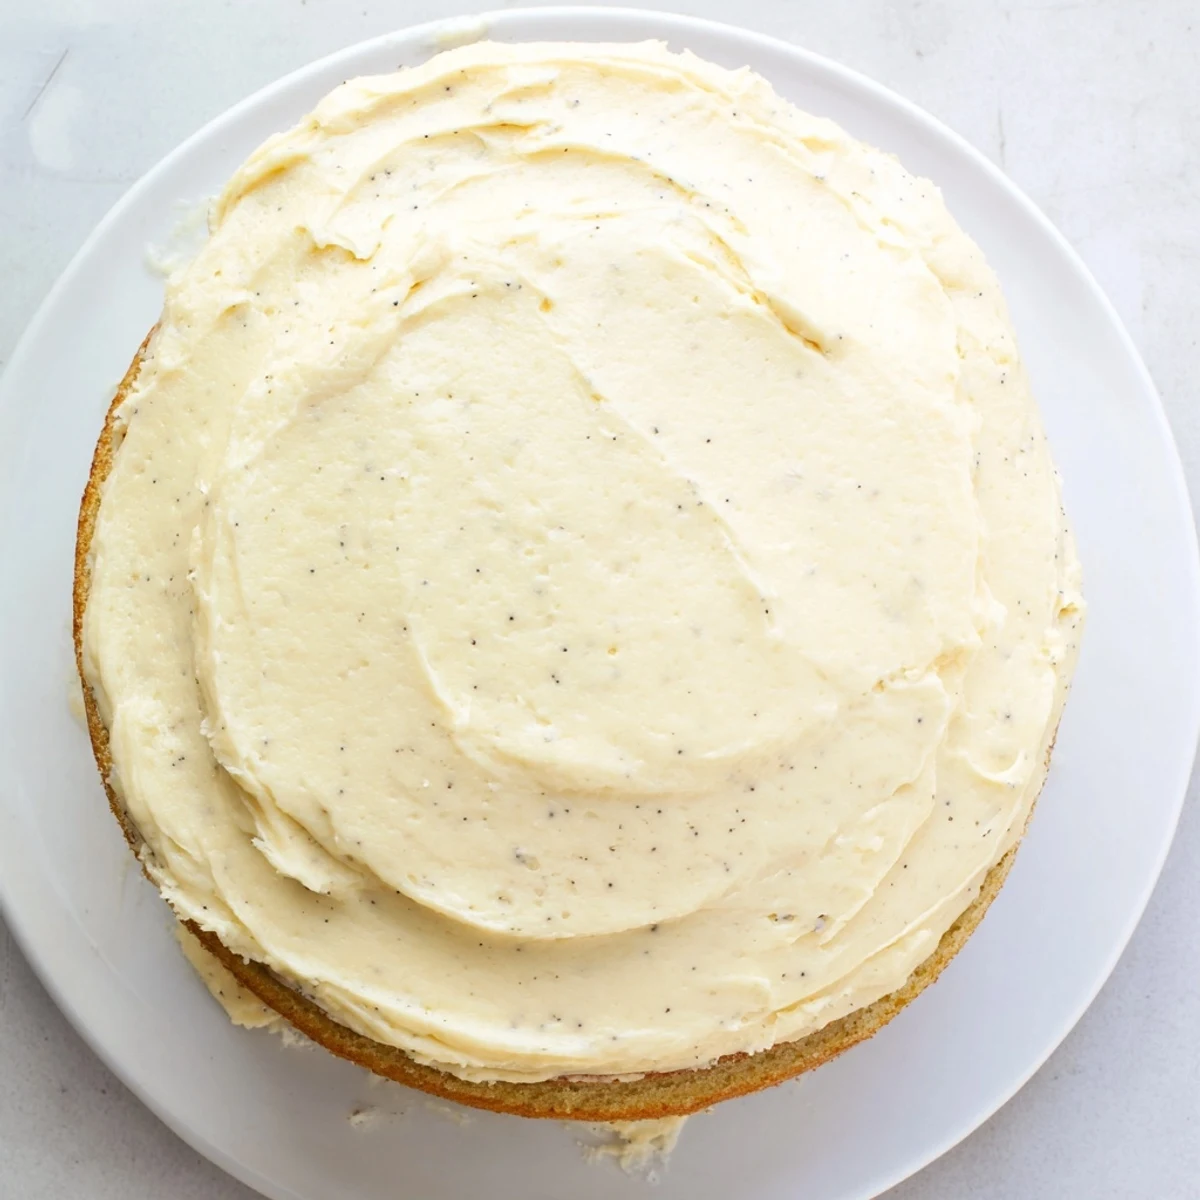
- Assemble and frost:
- Place one layer on your serving plate, spread buttercream over the top, set the second layer on top, then frost the top and sides generously.
 Pin it
 The first time I made this for my dads birthday, I forgot to grease the pans well enough and had to piece the layers back together like a puzzle. He still claims it was the best cake he ever tasted, mostly because he watched me panic and then fix it with determination and extra buttercream.
Making This Cake Ahead
I have learned through trial and error that the cake layers freeze beautifully. Wrap them tightly in plastic and freeze for up to a month, then thaw and frost the day before you need them. This saved me completely when I decided to bake three birthday cakes in one weekend.
Getting That Bakery Look
The secret to smooth frosting is doing a crumb coat first, a thin layer of buttercream to lock in the loose crumbs, then chilling the cake for 15 minutes before adding the final coat. It takes extra time but makes such a difference in the finished result.
Serving and Storing
This cake actually tastes better the next day once the flavors have had time to meld together. Keep it covered at room temperature for up to three days, though in my house it rarely lasts past day two.
- Chill the frosted cake for 30 minutes before slicing to get those clean restaurant style cuts
- Use a hot knife, run it under hot water and wipe dry between slices, for the smoothest edges
- Serve slightly chilled if it is a warm day, the buttercream holds up better that way
 Pin it
 There is something deeply satisfying about making a birthday cake from scratch, even if it takes all afternoon and leaves flour everywhere. Every celebration deserves that kind of love baked right into it.
Recipe Questions & Answers
- → Can I make the cake layers ahead of time?
-
Yes, bake and cool the layers completely, then wrap tightly in plastic and freeze for up to 3 months. Thaw overnight before frosting.
- → What's the difference between vanilla bean paste and extract?
-
Vanilla bean paste contains actual vanilla seeds, providing visual specks and more intense flavor. Extract works fine too—use 2 tablespoons instead.
- → How do I know when the cake is done baking?
-
Insert a toothpick into the center—if it comes out clean or with just a few moist crumbs, the cake is ready. The tops should spring back when lightly touched.
- → Can I use cake flour instead of all-purpose?
-
Absolutely. Swap in cake flour cup-for-cup for an even lighter, more delicate crumb texture. Perfect for extra-special occasions.
- → Why did my buttercream turn out too soft?
-
The butter might have been too warm. Chill the bowl for 15 minutes, then rewhip. Adding a tablespoon more powdered sugar also helps stabilize the frosting.
- → How should I store the finished cake?
-
Keep at room temperature for up to 2 days covered with a cake dome. For longer storage, refrigerate for up to 5 days—bring to room temperature before serving.