 Pin it
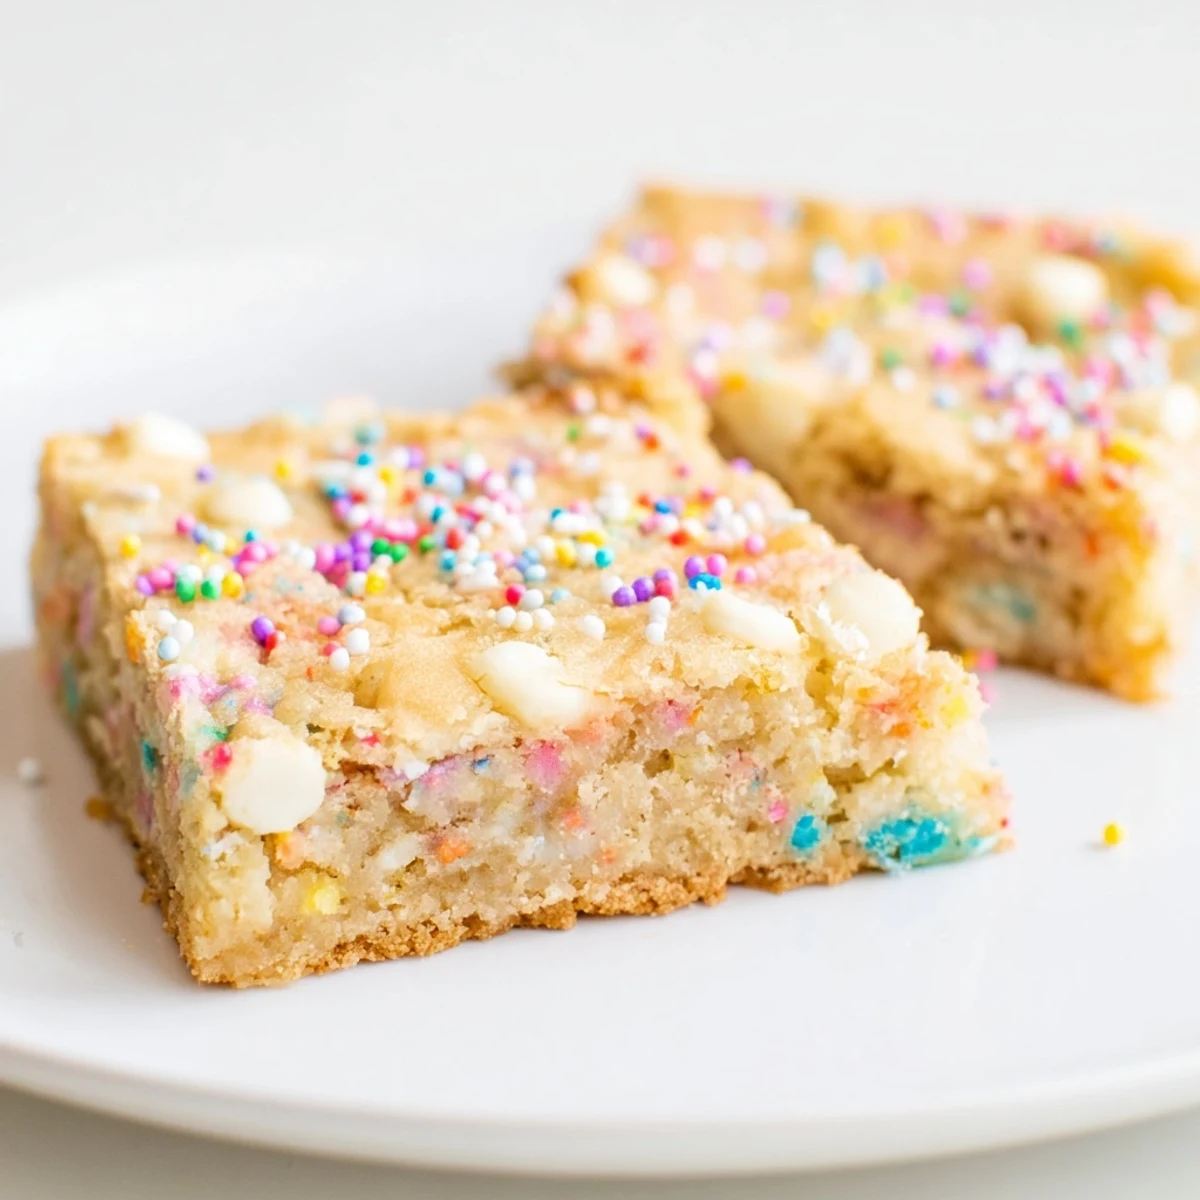
 These cheerful blondies combine a rich, buttery vanilla base with plenty of rainbow sprinkles for a festive spring treat. The batter comes together quickly with melted butter and brown sugar, creating a soft, chewy texture with slightly crisp edges. Optional white chocolate chips add creamy sweetness that complements the colorful sprinkles. Bake until just set for the perfect fudgy consistency, then let cool completely before cutting into squares. Use pastel sprinkles for extra spring vibes or swap the white chocolate for nuts if preferred.
My apartmentmate burst through the door last April with a bag of rainbow sprinkles she'd found on clearance at the grocery store. We'd both had the kind of week where nothing felt celebratory, but she was determined to make something that looked like joy itself. These blondies came out of the oven with edges that were perfectly golden and that confetti-speckled center that makes you feel like a kid again. We ate them warm on the floor of our kitchen, not caring about crumbs, and suddenly the week didn't feel so heavy anymore.
Last spring I made three batches in one weekend for my niece's birthday party because the first two disappeared before I could even pack them up. There's something about rainbow sprinkles that makes adults act like children and children act like they've discovered magic. My brother confessed to eating four of them before the guests even arrived.
Ingredients
- All-purpose flour: Provides the structure for these tender bars and helps them hold their shape while staying soft
- Baking powder: Gives the blondies just enough lift without making them cakey or dry
- Salt: Balances the sweetness and makes all the flavors pop
- Unsalted butter: Melted butter creates a denser, fudgier texture than creamed butter
- Light brown sugar: Adds moisture and that gorgeous caramel-like flavor that makes blondies special
- Egg plus yolk: The extra yolk contributes richness and helps create that chewy texture we're after
- Pure vanilla extract: Don't skimp here because vanilla is the backbone flavor that ties everything together
- Rainbow sprinkles: Use jimmies rather than nonpareils since the tiny balls bleed into the batter
Instructions
- Get your oven and pan ready:
- Preheat to 350°F and line an 8x8-inch pan with parchment paper, letting some hang over the sides like little handles
- Whisk the dry team:
- Combine the flour, baking powder, and salt in a medium bowl so they're evenly distributed
- Make the glossy base:
- Whisk melted butter and brown sugar until the mixture looks smooth and shiny
- Add the wet ingredients:
- Beat in the egg, egg yolk, and vanilla until everything is incorporated
- Gentle folding time:
- Fold in the dry ingredients with a spatula just until you don't see dry streaks
- Add the fun stuff:
- Gently fold in white chocolate chips if using and most of the sprinkles, saving some for the top
- Spread and decorate:
- Spread the batter evenly and press the remaining sprinkles onto the surface
- Bake until just right:
- Bake 23-26 minutes until edges are set and a toothpick comes out with moist crumbs
- The hardest part:
- Let them cool completely before slicing into 16 squares
 Pin it
 My mom started making these for Easter one year instead of the usual carrot cake and they became such a hit that she was asked to bring them to every family gathering. Now they show up at birthdays, picnics, and sometimes just because it's Tuesday. Last summer my niece asked if we could make them for her first day of school because they make her feel brave.
Making Them Ahead
The baked blondies keep beautifully at room temperature for up to three days, stored in an airtight container with parchment paper between layers. I've actually found they taste even better on day two when the flavors have had time to settle and develop.
Sprinkle Selection
Not all sprinkles are created equal when it comes to baking. Jimmies are your best bet because they hold their shape and color in the oven, while those tiny round nonpareils will dissolve into little dots of color that make your batter look muddy.
Customization Ideas
Try swapping the white chocolate chips for dark chocolate or butterscotch chips if you want to change up the flavor profile. During holidays I match the sprinkles to the occasion red and green for Christmas, pastels for Easter, or orange and black for Halloween.
- These freeze beautifully for up to three months if you wrap them well
- A quick 10 second zap in the microwave brings back that freshly baked warmth
- Serve with vanilla ice cream for an over the top spring dessert
 Pin it
 There's something impossibly cheering about a pan of these sitting on the counter, like edible confetti waiting to celebrate whatever small good thing happens today.
Recipe Questions & Answers
- → Can I use salted butter instead of unsalted?
-
Yes, you can use salted butter but reduce the added salt in the dry ingredients to about 1/4 teaspoon to prevent the final treats from becoming too salty.
- → What type of sprinkles work best?
-
Use jimmies (the long, thin sprinkles) rather than nonpareils (the tiny round balls), as nonpareils can bleed into the batter and create gray streaks during baking.
- → How do I know when blondies are done baking?
-
The edges should be set and slightly golden, while the center may still look slightly underbaked. A toothpick inserted in the center should come out with a few moist crumbs but not wet batter.
- → Can I freeze these blondies?
-
Absolutely! Wrap cooled blondies tightly in plastic wrap and place in an airtight container or freezer bag. They'll keep well for up to 3 months. Thaw at room temperature before serving.
- → Why do I need both egg and egg yolk?
-
The extra yolk adds richness and contributes to the fudgy, chewy texture that makes blondies so irresistible. The white provides structure while the yolk enhances tenderness.
- → Can I make these into funfetti brownies instead?
-
Yes! Simply add 1/3 to 1/2 cup cocoa powder to the dry ingredients and reduce the flour by the same amount. The chocolate version pairs beautifully with the sprinkles.