 Pin it
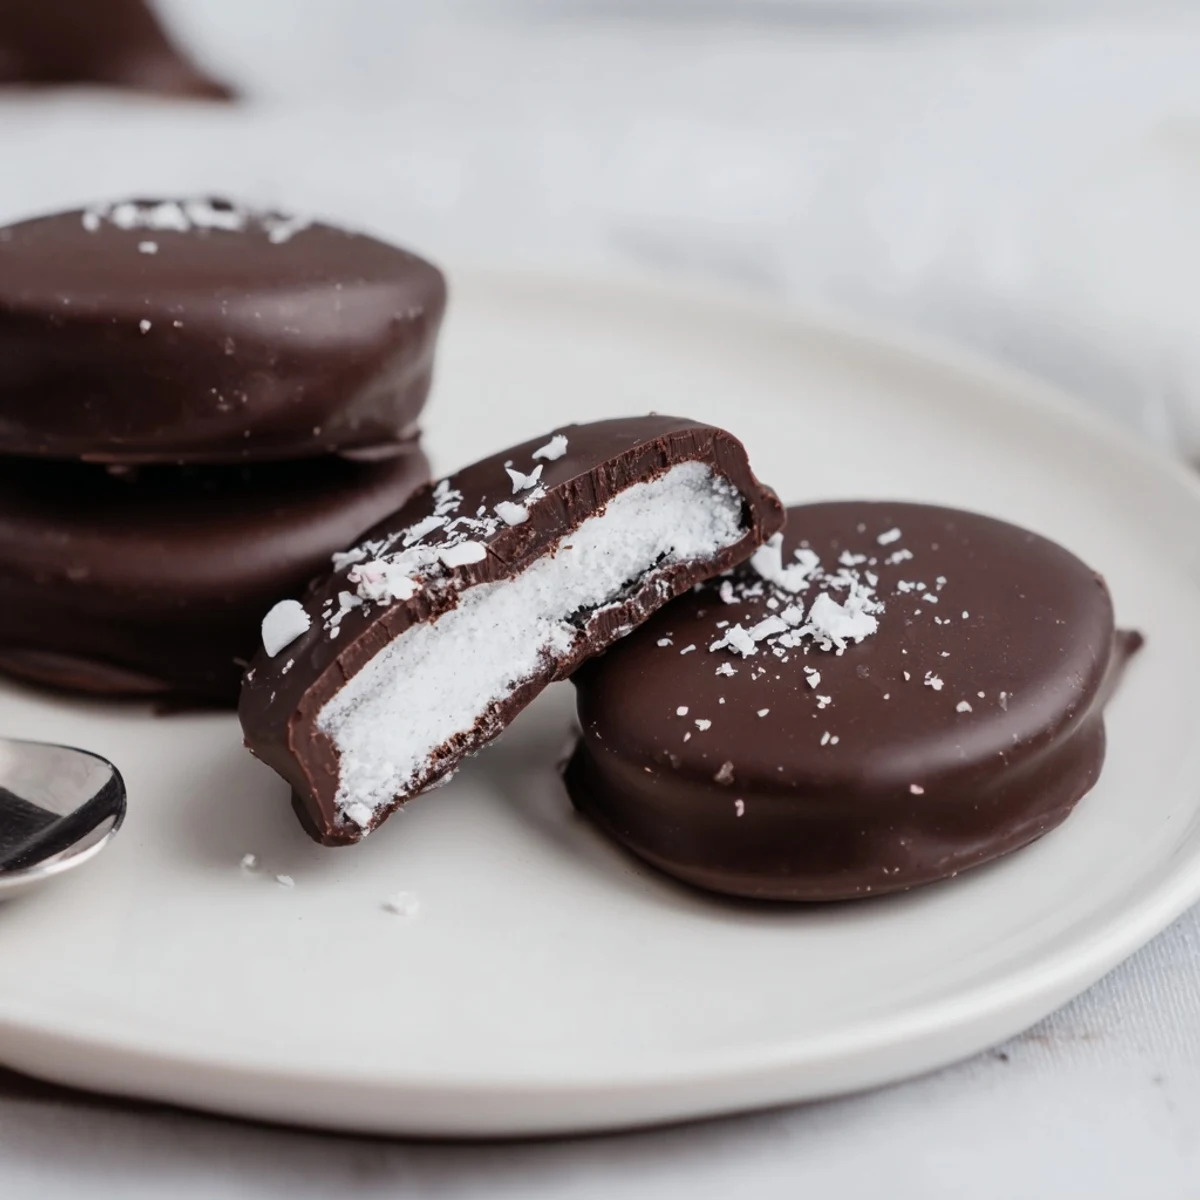
 Combine sifted powdered sugar, softened butter, peppermint extract and a little cream to form a smooth, pliable filling. Portion and flatten into discs, freeze until firm, then dip in melted dark chocolate with a touch of coconut oil for shine. Chill to set and add crushed peppermint or flaky sea salt if desired. Store airtight in the fridge up to two weeks.
Cracking open the kitchen window always seems to make the mint in the air sharper on days I’m swirling up a batch of peppermint patties. There’s a kind of thrill in seeing glossy pools of melted chocolate and watching snowy discs of peppermint filling line up on parchment like future treasures. The first time I made these, I grinned every time a cool burst of mint hit my nose. Making these never feels routine—the anticipation is just as sweet as the treat itself.
Last winter, I made these for a movie night with friends, and we passed them around in a mismatched Tupperware. The bowl emptied faster than the popcorn, and one friend begged for the recipe before the film’s opening credits had even finished. They became a staple request, especially when the weather outside made homemade chocolate feel like a minor act of rebellion. Each time I make them, someone new tells me how they remind them of their favorite after-dinner mint.
Ingredients
- Powdered sugar: This gives the filling its signature silky-smooth texture, and I always sift it to avoid any little lumps sneaking in.
- Unsalted butter: Softened butter melts into the sugar, making the dough malleable—room temperature works best so everything comes together easily.
- Peppermint extract: Just two teaspoons is plenty; it’s impressively powerful, so pour carefully for that fresh but not overwhelming flavor.
- Heavy cream: Adds enough richness and moisture to bind the filling—start with two tablespoons and adjust if you prefer a slightly softer texture.
- Pinch of salt: A tiny amount brightens the sweetness and makes each bite taste a little more grownup.
- Dark chocolate (60–70% cocoa): The deep flavor of quality chocolate transforms the candy—don’t be afraid to sample before using.
- Coconut oil (optional): I add a touch for extra shine and an even coating; if you skip it, your chocolate will still be delicious, just a bit thicker.
Instructions
- Create the Minty Dough:
- In a mixing bowl, beat together the powdered sugar, softened butter, peppermint extract, heavy cream, and salt until everything unites into a smooth, pliable dough. If it’s too sticky, dust in more powdered sugar and enjoy the little clouds that puff up with every stir.
- Shape the Discs:
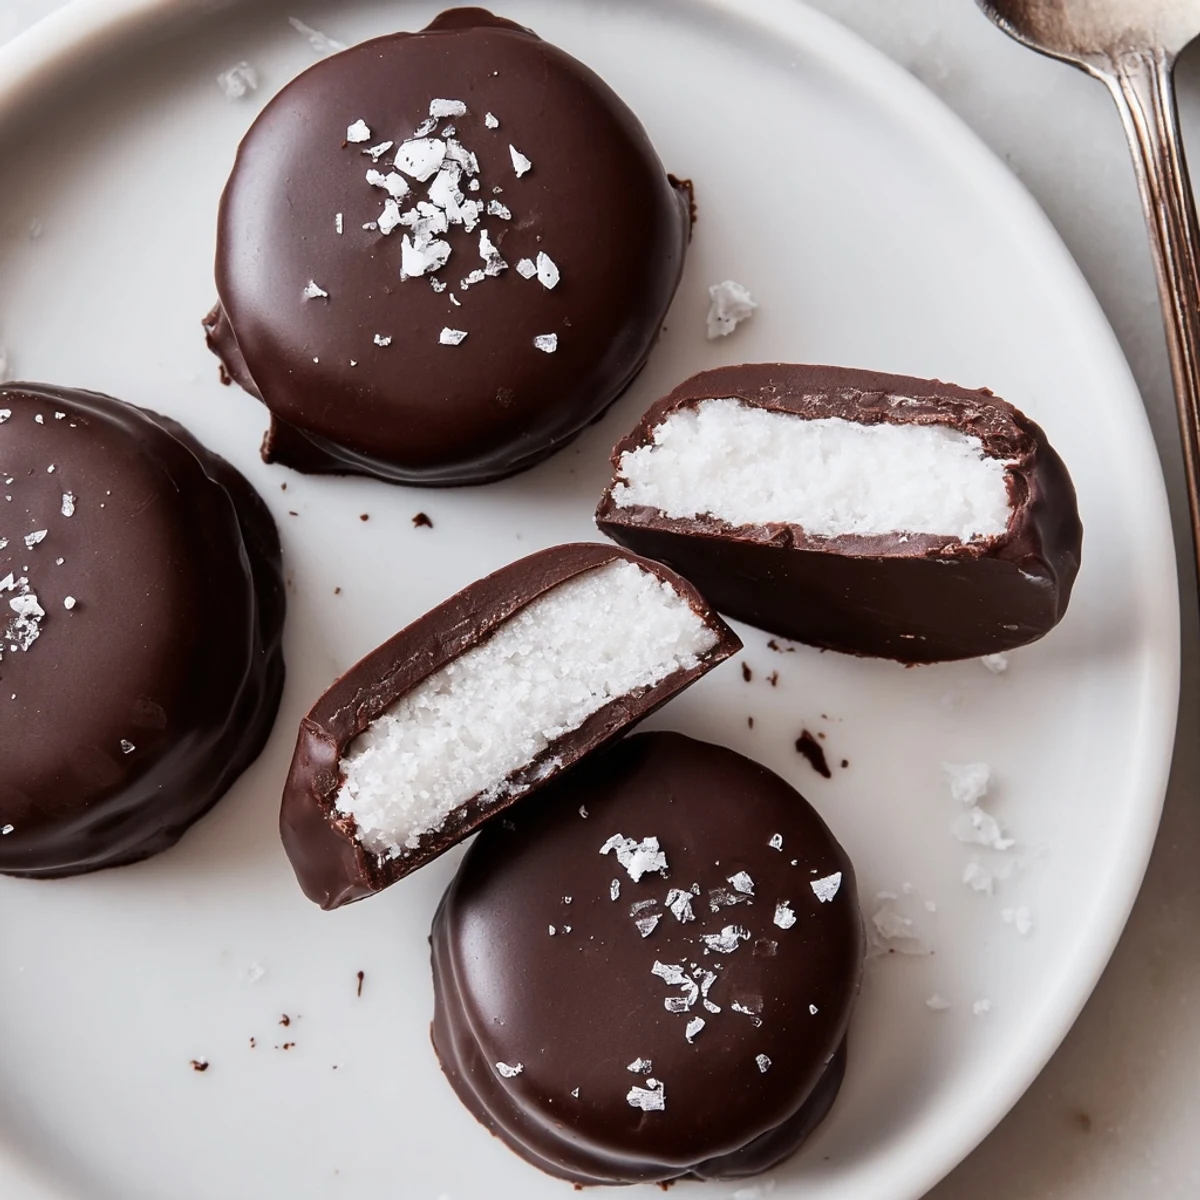
- Scoop out small balls of the mixture (about two teaspoons) and roll them between your palms before flattening into discs about a quarter inch thick—don’t aim for perfection, wonky edges are charming. Set them on a parchment-lined baking sheet, spacing them out with a bit of pride.
- Chill Until Firm:
- Slide the tray into the freezer and let the patties firm up for 20 to 30 minutes—it’s hard to wait, but the chill makes dipping a breeze later.
- Melt the Chocolate:
- Set a heatproof bowl over gently simmering water, then add the dark chocolate and coconut oil if you’re using it. Stir carefully—a spatula works well—until silky and completely smooth, breathing in that rich chocolatey aroma.
- Dip the Patties:
- With a fork, gently dunk each cold peppermint disc into the melted chocolate and let any excess drip off before returning to parchment. This step never stays tidy, so expect evidence of chocolate on your fingers.
- Set and Enjoy:
- Pop the finished patties into the fridge for about 15 minutes, just until the chocolate snaps when you break one in half. They’re irresistible chilled, but don’t be surprised if one gets sampled while still glossy.
 Pin it
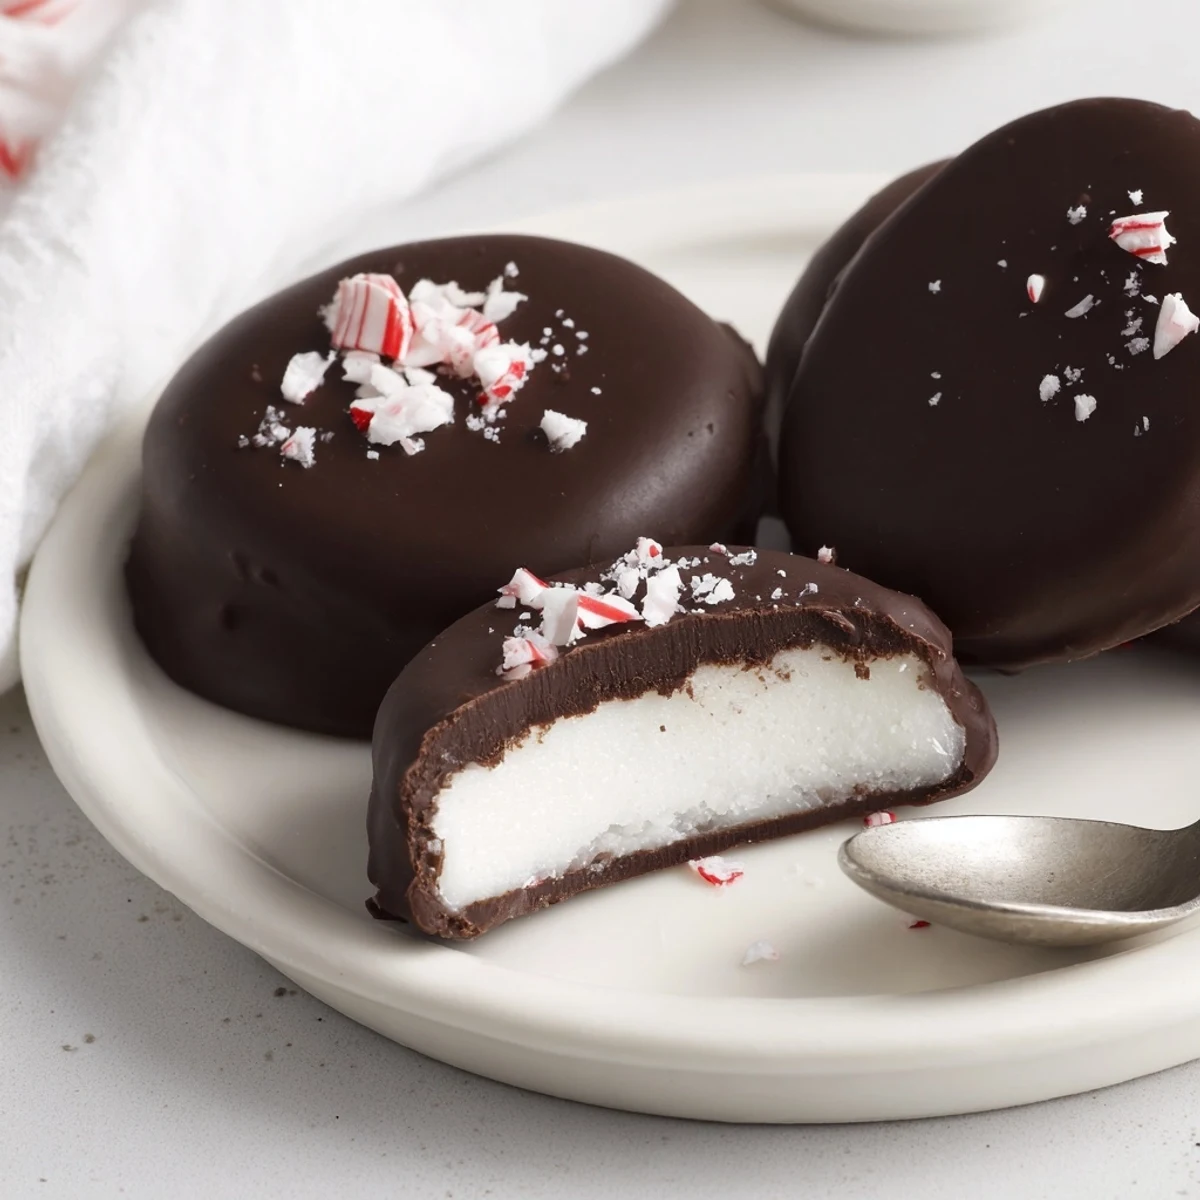
 There was one afternoon when my sister and I, hands chocolatey up to the wrists, tried sprinkling sea salt and crushed candy on top before the chocolate set. We ended up giggling over wonky decorations, and somehow, the ones with stripes and smudges disappeared the quickest. That batch tasted the best simply because it was made with laughter and small experiments. Suddenly, these weren’t just candies—they were markers of a shared afternoon that we still reminisce about.
Peppermint Pointers from My Own Kitchen
The prettiest patties come from rolling the filling between two sheets of parchment paper—a soft trick I picked up after a crumpled batch or two. Sometimes, warming the chocolate just a few seconds longer means a glossy finish that hardens with an audible snap. Clean up any chocolate drips quick, though, or your countertops might just remember this recipe too.
Storing, Swapping, and Sharing
I realized these treats stay freshest when stored in a lidded container in the coldest part of the fridge. If you want a vegan batch, swapping in coconut cream and dairy-free butter works beautifully without losing that creamy bite. Don’t be shy about wrapping a few in wax paper and tucking them into lunch bags for a little midday joy.
Chocolate Dipping Troubles—And Solutions
If your chocolate ever thickens while dipping, returning the bowl over gently simmering water brings it right back to life. Cooling the peppermint centers thoroughly makes all the difference for a seamless chocolate shell. And if you drop a patty in the bowl, fish it out quickly, embrace the mess, and call it ‘extra coated’—it’s a win in my book.
- If making ahead, let the patties come to room temperature for 5 minutes before serving for the softest center.
- Leftover chocolate can be drizzled over ice cream or fruit for a bonus treat.
- Remember to check your extract bottle—it makes a gigantic difference compared to imitation mint.
 Pin it
 These peppermint patties turn the simplest moments—after dinner, just before bed, or wrapped up for a friend—into a little celebration. May each bite leave you with a cool smile and a dash of chocolatey joy.
Recipe Questions & Answers
- → How do I stop the filling from being too sticky?
-
Add powdered sugar gradually until the dough is pliable but not tacky, chill the discs before handling, and work on parchment to prevent sticking.
- → What chocolate is best for coating?
-
Use dark chocolate 60–70% cocoa for a balanced bitterness and good snap. Melt gently over simmering water to avoid seizing; a teaspoon of coconut oil smooths the coating.
- → Can I make these dairy-free or vegan?
-
Yes. Swap dairy butter for plant-based spread and use coconut cream or other non-dairy cream. Ensure the dark chocolate is dairy-free and chill until firm before dipping.
- → How do I get a glossy, even finish on the coating?
-
Do not overheat the chocolate; stir until smooth and let it cool slightly before dipping. A small amount of coconut oil adds shine and helps the chocolate set more evenly.
- → How long do they keep and how should I store them?
-
Store in an airtight container in the refrigerator for up to two weeks. For longer storage, freeze between layers of parchment and thaw in the fridge before serving.
- → Any tips for flavor or presentation variations?
-
Try adding a drop of vanilla, using crushed candy cane or flaky sea salt on top before the chocolate sets, or flavoring with natural peppermint oil for a brighter mint note.